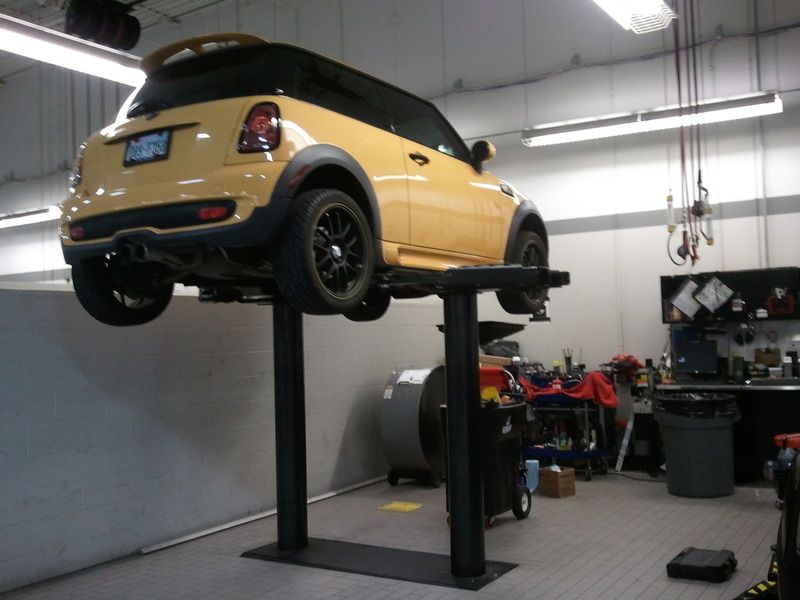
Sure is nice having a lift for this type of job, even if it's just changing the oil. So I had the car down and was cleaning up preparing to finish and hand my bay and lift over to another member when one of the techs comes walking by. He snaps out his flashlight and shines it on my turbo and says "You've got an oil leak, need to take care of that soon!" I look and sure enough, there's oil there around the feed line. I go home and start to research this issue.
As it turns out, the feed line is a hard pipe, but because there's flex and vibration, right where the hard pipe meets the part that screws into the turbo, there's a flex point with an o-ring. This part of the engine bay gets very hot and that o-ring suffers and over time the materials will break down and it will leak. No problem, I'll swap that out. Well, digging further into it, I find out it's quite the job.
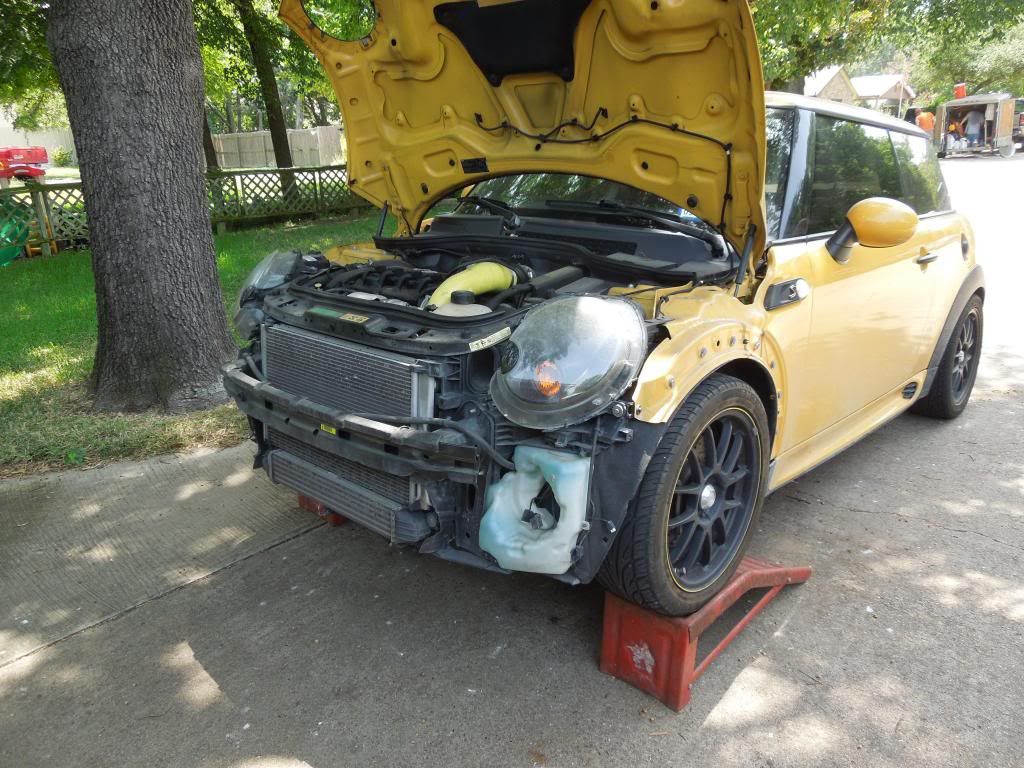
First step, get it up on the ramps. This is a harder job than you think it would be. Due to the car being lowered, the front bumper hits the ramps before the tire does. Oh how I wish I had the lift now. Here's what it looks like to get the car up on the ramps.
And...we are up!
At this point I am already beyond halfway to getting the radiator and front end into service position so I proceed to remove the rest of the bolts to accomplish this. It's supposed to give a couple extra inches of working room in there, but mine wouldn't budge. I guess sitting there for 83K miles made it so the parts wouldn't slide apart. Oh well, I continue on.
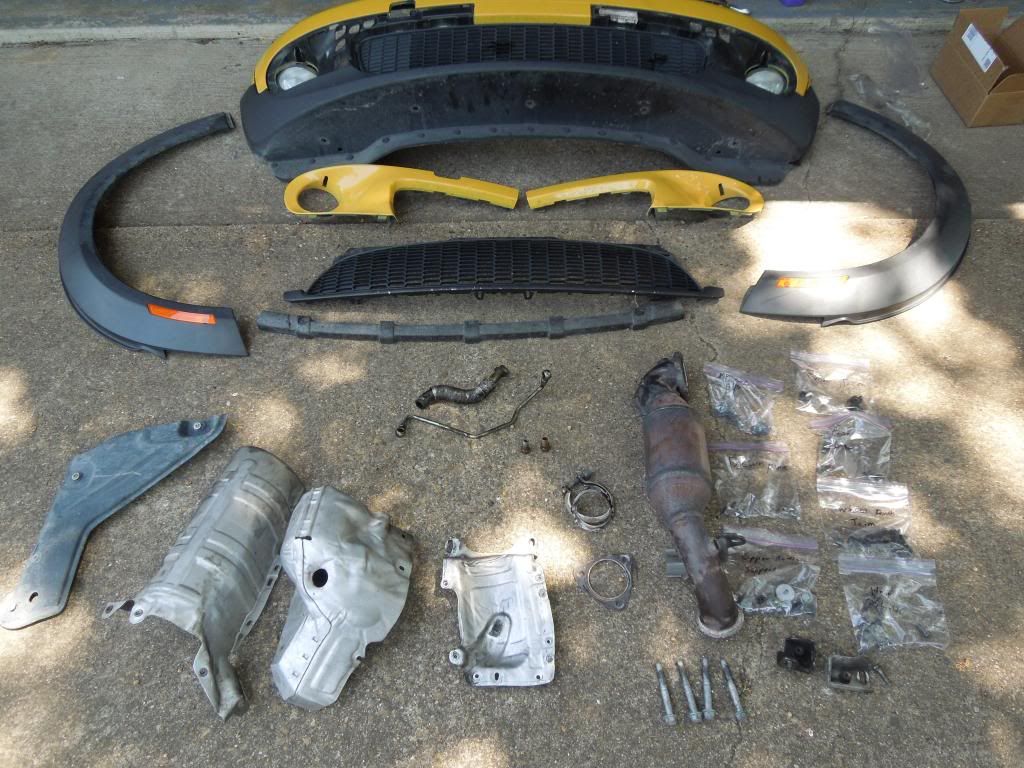
Here's what $150.00 gets you from BMW. These are the parts I'm replacing. Actually, it's more like $170.00 for all the parts from BMW but the hard feed line is being replaced with a trick braided steel line from Detroit Tuned which eliminates the o-ring problem. It's also a bit less expensive too.
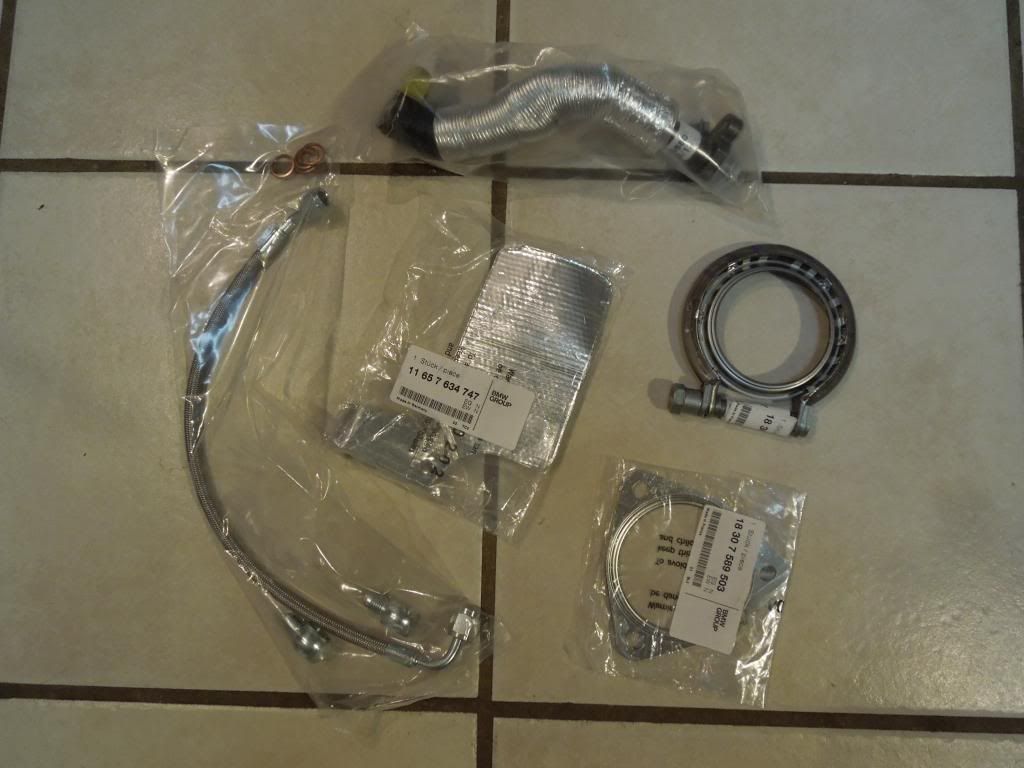
I've also purchased a heat shield for the oil line that MINI started putting on the cars a couple of years after mine. New gaskets for each side of the downpipe were also purchased to replace these items. This was a good thing because the gasket at the turbo side wasn't reusable in it's present condition.
So, off come the heat shields first. I had one contact the wire that bolts onto the alternator from the battery and send up a small shower of sparks. Not good! Disconnect the battery and continue on. Then I had to remove the downpipe from the turbo to the exhaust pipes below. That was a trick and was one of the many times that the extra few inches of working room would have been nice with the radiator in service position.
Here's the hole where the turbo downpipe used to sit.
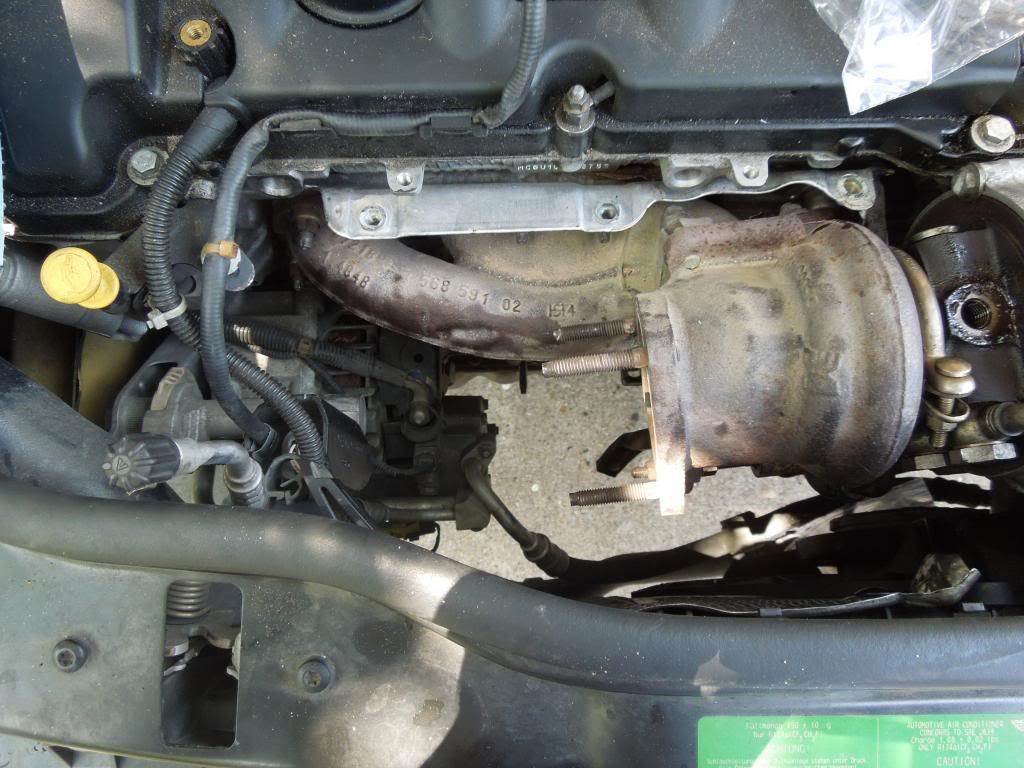
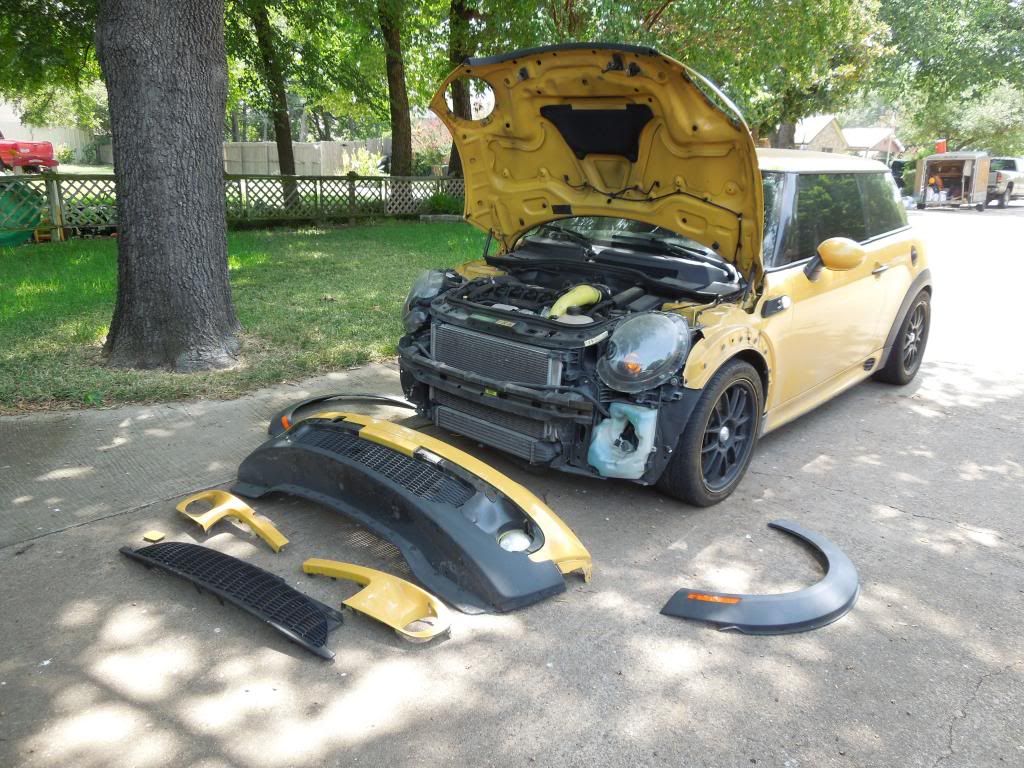
Here's the parts we are after. Removing all this stuff is so that you can get to where they connect to the engine, which is very hard to get to. Old in the middle with new on the outside. Feed lines on the left, return lines on the right.
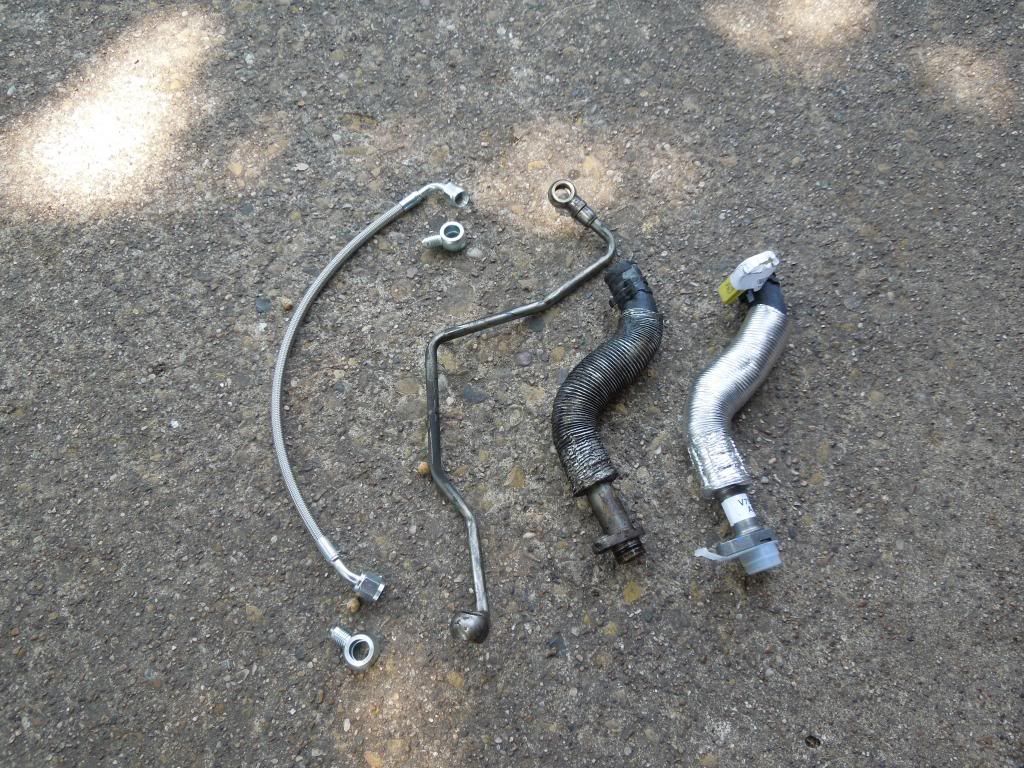
And finally, these are all the pieces I had to remove get to those parts.
You wouldn't think the reassembly process would go smoothly, but for the most part it did. One part didn't go so smoothly though.I was talking to my wife while screwing in the upper O2 sensor with my fingers and all went well. She went inside and I got it as tight as I could with my fingers and turned to my wrench. I turned it about a quarter of a turn and it stopped dead. I looked and it was nowhere near seated.
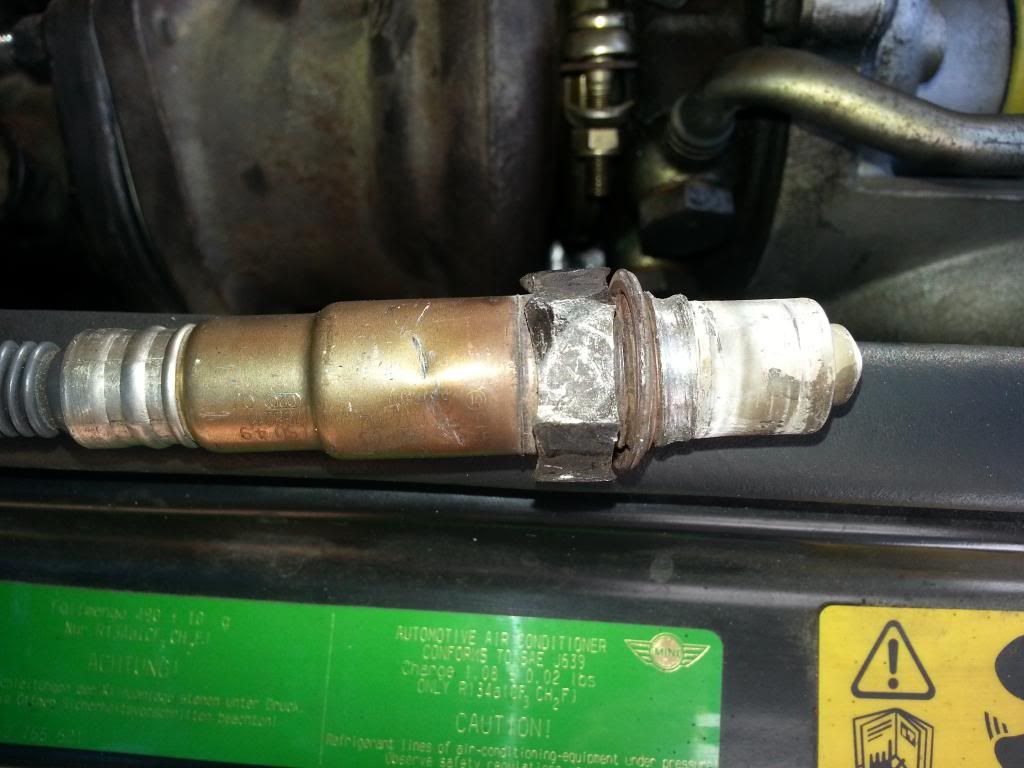
I've cross threaded enough bolts over the years to know to NOT continue turning because it'll damage it, and this isn't a cheap part. So I turn it back, and it goes a quarter of a turn and stops. Ugh. Turning back and forth reveals I can only turn a full quarter turn before meeting resistance and it isn't getting any better. I decide to force it out rather than in and it took a whole lot of force to get it out. In the process I stripped all the threads off of the O2 sensor.
On doing some research I find that this isn't a stock sensor from BMW and there's no way I cross threaded it with my fingers. Must have been cross threaded by one of the two previous owners I think. Both had performed some under the hood modifications so it's quite possible. I didn't notice if it was fully seated when I removed it. I did what I could to get it out knowing it was fubar'd but focused on not damaging anything else. Here it is out and you can see the jacked up threads.
$150 and a week later I have a new one at my door. I tried clearing the threads with a spark plug (same size) thread chaser but the threads were so jacked I couldn't get it to bite. I ended up going and picking up an 18mm 1.5 thread pitch tap from Elliot's Hardware Store. This bit and cleared out the softer metal from the O2 sensor in the harder threads of the downpipe. The installation of the replacement went smoothly and I got everything back together over the weekend.
Total down time was supposed to be just a weekend, but the sensor didn't come in till the Monday after the following weekend. Then we had family in town I didn't get time to work on it till the next weekend. CEL came on immediately but after some driving around and fiddling with the service mode on the on board computer while setting time and date again, it cleared on it's own. All running well now.
Total cost was around $300 including the O2 sensor. Still quite the savings from the approximately $1200 this would have cost at the dealership.
Links to parts used:
http://www.detroittuned.com/detroit-tuned-turbo-oil-line-kit/
http://www.detroittuned.com/mini-cooper-s-downpipe-clamp/
http://www.detroittuned.com/mini-gen-2-cooper-s-downpipe-gasket/
http://www.detroittuned.com/mini-gen-2-turbo-oil-line-heat-sheild/